Bagels bagels and more bagels!!


003004004005 002

Ingredients:
2 teaspoons of active dry yeast
1 ½ tablespoons of granulated sugar
1 ¼ cups of warm water (you may need ± ¼ cup more, I know I did)
3 ½ cups (500g) of bread flour or high gluten flour(will need extra for kneading)
1 ½ teaspoons of salt


Preparation:
1. In ½ cup of the warm water, pour in the sugar and yeast. Do not stir. Let it sit for five minutes, and then stir the yeast and sugar mixture, until it all dissolves in the water.

2. Mix the flour and salt in a large bowl. Make a well in the middle and pour in the yeast and sugar mixture.

3. Pour half of the remaining warm water into the well. Mix and stir in the rest of the water as needed. Depending on where you live, you may need to add anywhere from a couple tablespoons to about ¼ cup of water. You want to result in a moist and firm dough after you have mixed it.

4. On a floured surface, knead the dough for about 10 minutes until it is smooth and elastic. Try working in as much flour as possible to form a firm and stiff dough.

5. Lightly brush a large bowl with oil and turn the dough to coat. Cover the bowl with a damp dish towel. Let rise in a warm place for 1 hour, until the dough has doubled in size. Punch the dough down, and let it rest for another 10 minutes.

6. Carefully divide the dough into 8 pieces (I used a scale to be extra precise, but it’s not necessary). Shape each piece into a round. Now, take a dough ball, and press it gently against the counter top (or whatever work surface you’re using) moving your hand and the ball in a circular motion pulling the dough into itself while reducing the pressure on top of the dough slightly until a perfect dough ball forms (as pictured below). Repeat with 7 other dough rounds.

7. Coat a finger in flour, and gently press your finger into the center of each dough ball to form a ring. Stretch the ring to about ⅓ the diameter of the bagel and place on a lightly oiled cookie sheet. Repeat the same step with the remaining dough.

8. After shaping the dough rounds and placing them on the cookie sheet, cover with a damp kitchen towel and allow to rest for 10 minutes. Meanwhile, preheat broiler……you will broil each side of the bagel for about 20 seconds or until golden color.

9. Bring a large pot of water to a boil. Reduce the heat. Use a slotted spoon or skimmer to lower the bagels into the water. Boil as many as you are comfortable with boiling. Once the bagels are in, it shouldn’t take too long for them to float to the top (a couple seconds). Let them sit there for 1 minute, and them flip them over to boil for another minute. Extend the boiling times to 2 minutes each, if you’d prefer a chewier bagel (results will give you a more New York Style bagel with this option).

10. If you want to top your bagels with stuff, do so as you take them out of the water, you may use the “optional toppings” (listed above) to top the bagels and if you’re risky like me, make a combination of the toppings to top the bagels with, but before hand, you will need to use an egg wash to get the toppings to stick before putting the bagels into the oven.

11. Once all the bagels have boiled (and have been topped with your choice of toppings), transfer them to a lightly oiled baking sheet.

12. Bake for 20 minutes, until golden brown.

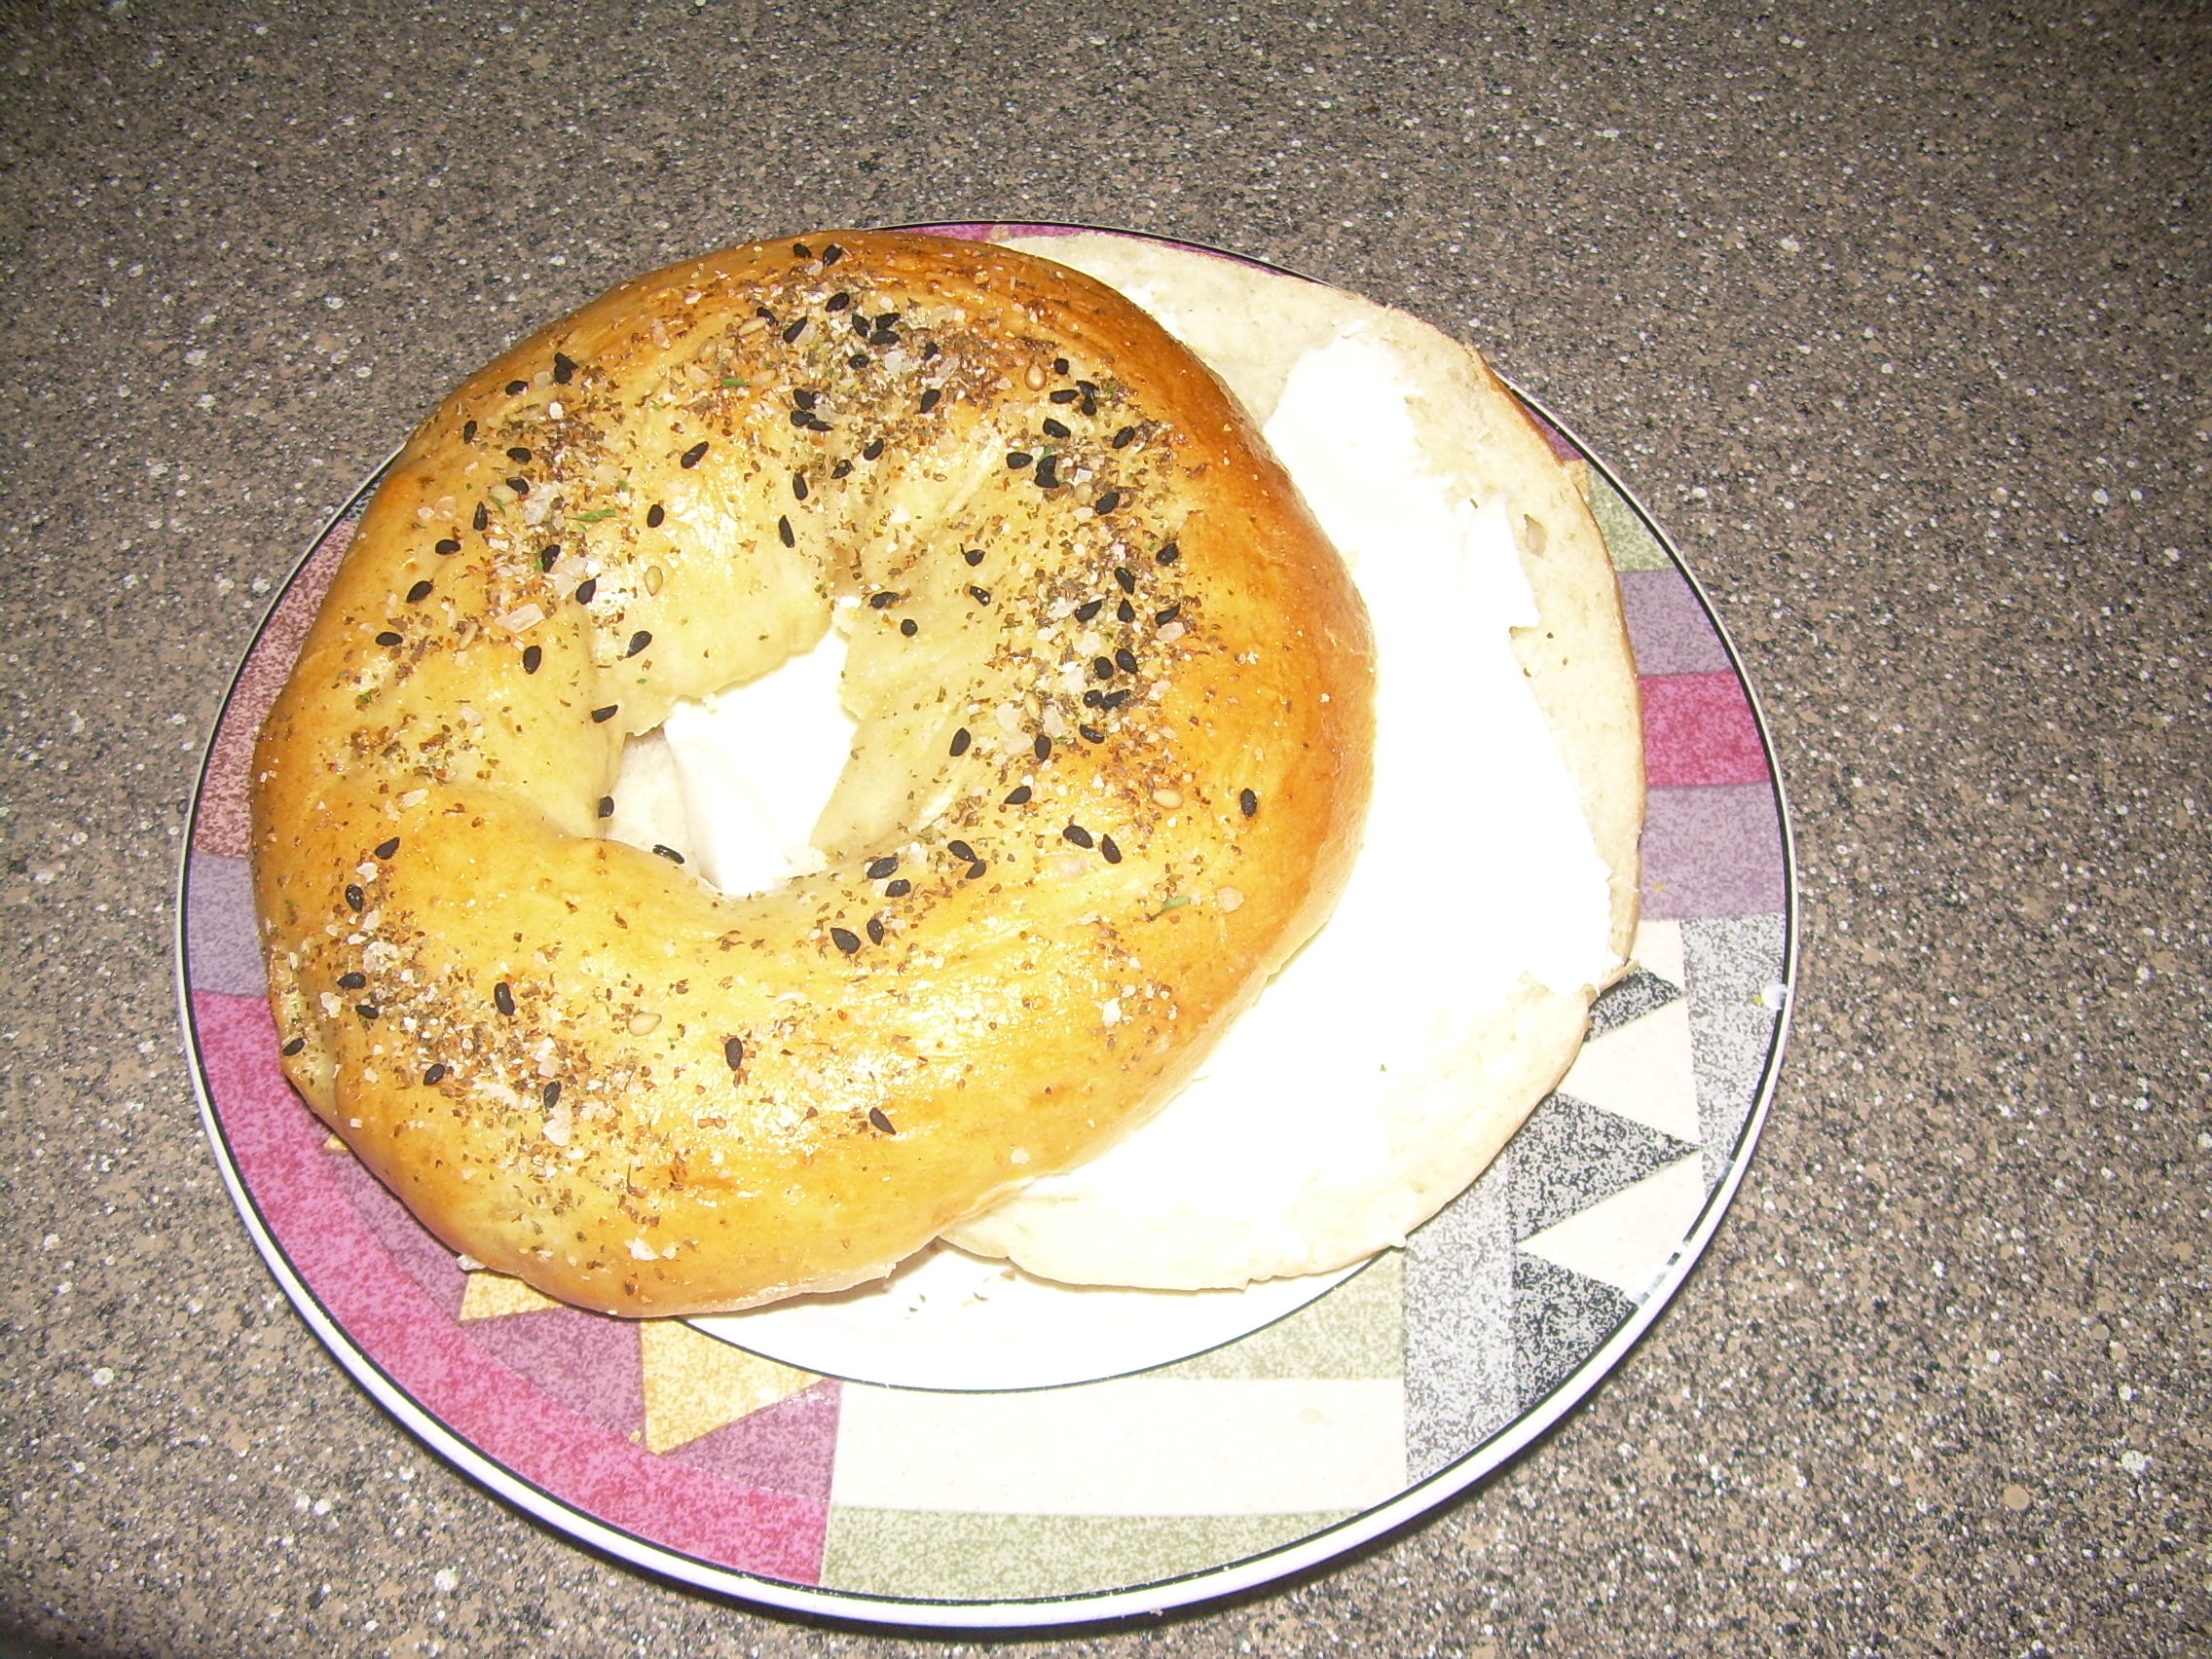
13. Cool on a wire rack (or if you’re impatient like I am, slice one of these babies open, and spread some softened butter on it.

the bestttttttt recipe i have ever tried!!! enjoy!!


Kalecha


This slideshow requires JavaScript.

This is a food staple in Iraq, the day just does not go on with out these cookies…they happen to be a big time favorite in my home and as you begin to experiment more and more the recipe changes and they just keep getting better. So this recipe, is mine, after years of messing with the dough and the date mix…I have found one I truly love.

The dough

4 c. flour

1 c. granulated sugar

1 c. butter

1 teaspoon cardamom powder


The filling

2  13oz packs of Ziyad brand baking dates

1 tbsp cardamom powder

1 tbsp anise seed

1/2 tbsp of coriander

1 tsp cinnamon

1 tsp rose water

2 tbsp butter


Egg wash-which is just a beaten egg and a tiny amount of water


Mix up all the ingredients for your dough and set it in the refrigerator

Then preheat your oven to 350F

in a heavy bottom sauce pan, melt the butter and add your dates. You will want to let them cook down a little and then add all your spices. Stir really well, sometimes I add a small amount of water to the mixture and it makes it more spreadable when you are ready to make the cookies. Once the mix is stirred up and all spices are mixed throughout the dates, remove it from the heat and set it aside to cool to room temp.

You are now ready to finish making the best cookie ever lol. So get your dough out, flour your working surface, roll out your dough into long rectangle pieces and spread the date mixture over it and roll it up. Then cut it into desired thickness, set on a cookie sheet, spread the egg wash over the top of each cookie and bake away!!!!!!!!!!! They are done when they are a perfect golden brown! Yummmm

Serve with tea….we do loool. Enjoy!!!!!!


Rocky Road Brownies


This slideshow requires JavaScript.

Rocky Road Brownies Recipe

INGREDIENTS

3/4 cup butter, melted

1 1/2 cups white sugar

2 teaspoons vanilla extract

2 eggs

3/4 cup all-purpose flour

1/2 cup unsweetened cocoa powder

1/2 teaspoon salt

1/3 cup chopped nuts of your choice

1/3 cup chocolate chips

3/4 cup miniature marshmallows

DIRECTIONS:

Preheat oven to 350 degrees. In a small bowl, combine marshmallows, almonds, and chocolate chips then set aside. In a medium-large bowl, mix (by hand) melted butter, sugar, and vanilla until blended. Add one egg at a time mixing/beating well. Add flour, cocoa, and salt and stir the batter until fully incorporated making sure you scrape the sides of the bowl including the bottom. Spray an 8×8 square pan with non-stick spray. Spread brownie batter inside the pan as evenly as possible. Evenly distribute the marshmallows/chocolate/almond mixture all over the top of the brownie batter. Using the back of a clean spoon, gently press down the topping mixture into the batter just enough so the topping is slightly packed down. Bake for 30 minutes or until done. Marshmallows will have a slight crisp edges. Allow to cool slightly before serving.  Brownies slice really nicely if completely cooled.

* These brownies are dense. Not cake-like or chewy. If you prefer a chewier brownie, substitute half the white sugar for brown.

Fruit tarts


This slideshow requires JavaScript.

Sweet Pastry Crust:

1 1/2 cups (195 grams) all purposeflour

1/8 teaspoon salt

1/2 cup (113 grams) unsaltedbutter, at room temperature

1/4 cup (50 grams) granulated whitesugar

1 large egg, lightly beaten

Pastry Cream:

1 1/4 cups (300 ml) milk (whole or 2%)

1/2vanillabean, split lengthwise or 1 teaspoon pure vanilla extract or vanilla bean paste

3 largeeggyolks

1/4 cup (50 grams) granulated whitesugar

2 tablespoons (20 grams) all-purposeflour

2 tablespoons (20 grams) cornstarch(corn flour)

1/2 tablespoon liqueur(Grand Marnier, Brandy, Kirsch) (optional)

Apricot Glaze: (optional)

1/2 cup (120 grams) apricot jam or preserves

1 tablespoon water

Topping:

3 cups (720 ml) fruit (raspberries, blackberries,strawberries, blueberries, kiwifruit, bananas, plums, pineapple, melon, etc.)

Sweet Pastry Crust:  In a separate bowl, whisk the flour with the salt. Place the butter in the bowl of your electric mixer, or with a hand mixer, and beat until softened. Add sugar and beat until light and fluffy. Gradually add the beaten egg, beating just until incorporated. Add the flour mixture all at once and mix just until it forms a ball. Flatten the pastry into a disk, cover with plastic wrap, and refrigerate for 15-30 minutes or just until firm (can place in freezer for about 10-15 minutes.)

Lightly butter and flour, or spray with a non-stick vegetable/flour cooking spray, an 8 – 9 inch (20 – 23 cm) tart pan with a removable bottom. Evenly pat the chilled pastry onto the bottom and up the sides of the pan. Cover with plastic wrap and place in the freezer for about 15 minutes.

Meanwhile, preheat oven to 400 degrees F (205 degrees C) and place rack in center of oven. Lightly prick bottom of pastry crust with the tines of a fork (this will prevent the dough from puffing up as it bakes). Place tart pan on a larger baking pan and bake crust for 5 minutes. Reduce oven temperature to 350 degrees F (180 degrees C) and continue to bake the crust for about 15minutesor until dry and lightly golden brown. Remove from oven and place on a wire rack to cool completely before filling. Can be covered and stored for a few days.

Pastry Cream: Ina medium-sized heatproof bowl, mix the sugar and egg yolks together. (Don’t let the mixture sit too long or you will get pieces of egg forming.) Siftthe flour and cornstarch (corn flour) together and then add to the egg mixture, mixing until you get a smooth paste.

Meanwhile, in a saucepan bring the milk and vanilla bean just to boiling (just until milk starts to foam up.) Remove from heat and add slowly to egg mixture, whisking constantly to prevent curdling. (If you get a few pieces of egg (curdling) in the mixture, pour through a strainer.) Remove vanilla bean, scrape out seeds, and add the seeds to the egg mixture. (The vanilla bean can be washed and dried and placed in your sugar bowl to give the sugar a vanilla flavor.) Then pour the egg mixture into a medium saucepan and cook over medium heat until boiling, whisking constantly. When it boils, whisk mixture constantly for another 30 – 60 seconds until it becomes thick. Remove from heat and immediately whisk in the liqueur (if using). (Stir in vanilla extract is using instead of a vanilla bean.) Pour into a clean bowl and immediately cover the surface with plastic wrap to prevent a crust from forming. Cool to room temperature. If not using right away refrigerate until needed, up to 3 days. Beat or whisk before using to get rid of any lumps that may have formed.

Apricot Glaze:  Heat the apricot jam or preserves and water in a small saucepan over medium heat until liquid (melted). (Can also heat in the microwave.) Remove from heat and strain the jam through a fine strainer to remove any fruit lumps.

To Assemble Tart:To remove the tart from the fluted sides of the pan, place your hand under the pan, touching only the removable bottom not the sides. Gently push the tart straight up, away from the sides. The fluted tart ring will fall away and slide down your arm. If you want to remove the bottom of the pan, run a knife or thin metal spatula between the crust and metal bottom, then slide the tart onto your platter.

Spread a thin layer of apricot glaze over the bottom and sides of the baked tart shell to prevent the crust from getting soggy. Let the glaze dry (about 20 minutes). Then spread thepastry cream onto the bottom of the tart shell. Place fruit randomly on top of cream or in concentric overlapping circles, starting at the outside edge. After arranging the fruit, rewarm the glaze, if using, and gently brush a light coat on the fruit. If not serving immediately, refrigerate but bring to room temperature before serving. This fruit tart is best eaten the same day as it is assembled. Cover and refrigerate any leftovers.

Serves about 6-8 people.

Read more:http://www.joyofbaking.com/FruitTart.html#ixzz23co0wvOW

For the love of Kubbah!!! and you will love it


This slideshow requires JavaScript.

I was looking to make this dish for a while and i decided that I would do mine a little different sand throw some stuffed veggies in with it. Why not right? So I made bulgar wheat kubbah and stuffed zucchini simmered in a garlic yogurt sauce and baked in the oven…..my husband then called it “Delicious” which is hugeeeeeeee only because he rarely if ever uses that word for anything, at all. I was cheesy all night and floating. I love to surprise him. I think some times I try to hard, but it’s ok. I will get over it, maybe. lol. Anyways, so back to this dish…it has flavor and lots of it. We grow our vegetables ourselves so it makes things taste that much better. I highly recommend any serious cooker to do so…of course, non serious cookers too…heck, anyone!! LOL…ok so here are the ingredients and the way to do it.

FILLING:

2 lbs lean ground beef

1 tbsp oil

2 medium onions finely chopped

1 1/2 tsp salt

1 tsp black pepper

1/2 tsp allspice

1/2 tsp cinnamon

1/4 tsp dried lemon

1/4 c fresh parsley

1/2 c pine nuts

I start this first by sauteing the onions until lightly golden and then adding everything else into the pot as well and turning it on low to let it cook all together. I know, some people are like “NOOOO” but yes, this is my way. I am a multitasker  so if I can do it, I will. While this is slow cooking on medium low, make sure you stir and bread up the meat really good.

Core out your zucchini and lightly oil the insides and outsides and set aside because you will lightly fry them before baking

BULGAR DOUGH:

2 cups of bulgar to about 1 cup of flour or farinah or even rice flour can be used….the bulgar should have been pre-soaked because it needs to be puffed up…so just soak it before hand. It needs about 45 mins to be done soaking.

After the bulgar is soaked, if there is a lot of water left in the bulgar, dump some of it out, you want to keep enough to make the dough…you can always add more water. I also add a couple tsps of allspice and a teaspoon of salt for the dough. Mix it all together and it should be kind of sticky but not too sticky. test it by rolling some into a ball and flattening it, if it starts to break apart, you need to add more flour.

Start stuffing!!!! Make a ball with your perfect dough and flatten it in your hands, scoop a desired amount of filling into the middle of the flattened ball and then pulls the sides up and over to reform a ball and enclose that delicious filling mixture.  Make sure it is sealed well and flatten a little to make somewhat of a disk. Lightly fry them as well.

You can now lightly fry the zucchini and stuff away!!!

Let all of that cool a bit before handling again, and make your yogurt sauce.

SAUCE:

2 c. yogurt

2 tbsps corn starch

1 c water

2 tsp crushed minced garlic

you can double this or whatever you feel is necessary for your dish

mix together very well

PUT IT TOGETHER!!

line your baking dish and start adding kubbah and veggies ….when finished, pour yogurt sauce over all of it and baked for about 40 mins at 350F…..

I served ours with saffron rice, but you do not need to

ENJOY!!!!!!!!!!!!!!!

Hummus…


This slideshow requires JavaScript.

I love this, with almost everything. You can eat it alone, dip meats or bread in it..whatever you want to do with it, you can.  Add to the recipe flavors that you want whether it be to spice it up or give it a spin. The more tahini sauce, for me, the better. I love it. Here is a simple recipe to do it yourself , the canned hummus, or the hummus pre-made is just not as good.

1 clove garlic

1 (19 ounce) can garbanzo beans, half the liquid reserved

4 tablespoons lemon juice

2 tablespoons tahini

1 clove garlic, chopped

1 teaspoon salt

2 tablespoons olive oil

zataar and sumac, if you like, for garnish

In a blender, chop the garlic. Pour garbanzo beans into blender, reserving about a tablespoon for garnish. Place lemon juice, tahini, chopped garlic and salt in blender. Blend until creamy and well mixed.

Transfer the mixture to a medium serving bowl. Sprinkle with zataar, sumac  and pour olive oil over the top. Garnish with reserved garbanzo beans.

Serve it with anything!! Warm flat bread is the best.

Chocolate chip cookie truffles?? Yep…I did


This slideshow requires JavaScript.

So I came across this beauty online, although I can no remember where, I think on Pintrest…so I gave it a try and I was very pleased indeed, as were my kids….we made them last night and the majority are already gone. Nice huh? Big families and hungry kids will do that to you. lool. So here is the wonderful recipe and some pictures of what we did. They are not gorgeous like I have seen some websites show, but they are real. lol.

2 1/2 cups all purpose flour
1 teaspoon salt
1/4 teaspoon baking soda
1 cup (2 sticks) butter or margarine, room temperature
3/4 cup granulated sugar
3/4 cup packed brown sugar
1 teaspoon vanilla
1/3 cup milk or soy milk
1 cup mini semi-sweet chocolate chips

14 oz dark chocolate candy coating

directions:
Beat butter and sugars and in large bowl with electric mixer on medium speed until light and fluffy. Add soymilk and vanilla. Stir in flour, baking soda and salt and mix on low speed (or by hand) until incorporated. Stir in chocolate chips.

Cover and chill dough for 1 hour.

When dough is firm enough to handle (it may help to lightly flour your hands), form dough into 1″ balls and arrange on a baking sheet lined with waxed paper. Place sheets in freezer and let chill for 30 minutes.

Melt chocolate candy coating in a double boiler or in microwave according to package directions. Using forks or a dipping tool, dip cookie balls into candy coating to cover. Tap fork on side of pan to remove any excess coating, and return to waxed paper-lined baking sheets. Chill until set. Store, chilled, in an airtight container for up to 1 week

Znoud al-Sit (lady’s upper arm) which are cream filled pastry rolls


This slideshow requires JavaScript.

Well, let me just say that his was my first time ever making or even eating these, but it will not be my last, insha Allah. Making them took time, of course…but these are amazing. They are a pastry type dough with a custard type, rose water flavored cream filling drenched in a sweet syrup…topped with coconut or ground nuts, even chocolate I suppose. They are perfect for anything. You can change the flavor of the custard too I am sure….but being my first time trying the recipe I decided to do as the recipe said. I am happy with my results. Highly recommend trying it.

the dough:

2 c flour

1tsp baking powder

1/4 tsp salt

2 eggs beaten

2/3 c water

2 tbsp hot oil

flour for work surface and oil for frying as well


to make this dough, combine the flour and salt then stir in the eggs and water to make a medium soft dough…knead lightly

then drizzle the hot oil over the dough and knead lightly again and set aside for 10 mins

divide the dough into 22 walnut sized pieces, depends on preference also

sprinkle the surface with flour and begin rolling out each piece as thin as possible, you want them rectangular to make them into little cigar shapes.

when you fill them, you will roll them a little, tuck in the sides, and finish rolling. similar to grape leaves.


the filling

4 heaping tbsps of cornstarch

3 tbsps sugar

2 c whole milk

1 tbsp rosewater….orrrr if you want to change the flavor, use another of your choice

in a small heavy bottom pot, mix cornstarch and flour with sugar slowly stirring in milk until it is completely dissolved

on medium heat, bring to a boil until it becomes thicker but make sure to stir so as not to burn…7-10 mins total cooking time for this.

It should be similar to custard, thicker then pudding. Take it away from the heat and add your choice of flavor and mix it in.


syrup

2 cups sugar

1  and 3/4 c water

1/4 c honey

1 tbsp lemon juice

either 2 cardamom pods or 1 tsp rose or orange blossom water

combine all the ingredients in a small pot and let it boil, stirring with a wooden spoon.  set aside when finished


so, to put all of this together is easy….take the dough you have rolled and place custard in the middle. Roll them like cigars, tucking on each edge so there will be no leakage, and then finish rolling it until closed.

when you fry them, make sure the seam is facing down.

You can arrange them on a plate and then poor syrup on them or you can dunk them into the syrup like I did….works better for me.

I also garnished them with coconut…although you can garnish them as you like…I know if I put coconut on anything, my husband will eat it. Looool

I loveeeeeeeee this recipe, yes it is time consuming and work…but it is worth it.

Spritz cookies


This slideshow requires JavaScript.


So, I went to a local thrift store here in Phoenix Arizona, and to my surprise I found theeeeee coolest thing ever…..a cookie press!!! My mom had one, and I remembered her as soon as I saw it. So, I bought it. I was imagining all the possibilities and things I plan to use it for. 2 bucks!!!! That is all I paid!! Big win!!! So i googled some recipes and this is the one I chose and used. They turned out awesome!!!! I have more to work on with pressing them, but it was fun!! I would recommend this for anyone who loves to “create bake” like me!!.

1 cup (227 grams) unsaltedbutter, room temperature

1/2 cup (100 grams) granulated whitesugar

1 largeegg

1 1/2 teaspoons purevanillaextract

2 1/4 cups (295 grams) all purposeflour

1/4 teaspoon salt

Read more:http://www.joyofbaking.com/SpritzCookies.html#ixzz1rQpYjBT3

Fatoush….my way


This slideshow requires JavaScript.

I have fallen in love with this salad. It is so good. There are many spices used, the best vinegar I ever found, and the crunchy tanoor bread…incorporated together…yummmmm….Now here is what I used to make mine.

3 tomatoes diced up

1 big onion diced up

2 cucumbers peeled and diced up

1 bunch of fresh parsley

1 1/2 pieces of tanoor bread of some cut up pita

parmesan cheese

sumac

olive oil

vinegar

butnig-(iraqi dried wild mint)

zataar-(thyme sesame blend)

The first thing to do would be to prepare your bread by cutting it up into squares and mixing some sumac and parmesan with it and then adding olive oil….blend well

lay it out on a cookie sheet and let it turn crunchy

chop up your tomatoes, onion, and cucumbers and put into your salad bowl

chop up your parsley and add it to the salad

add butnig and zataar, about 2 tsps of each, depending on your desire mix it all up into the salad

then add vinegar and oil according to your taste….we do equal parts in our salads.

by this time the bread should be done and you can remove it, let it cool down and add it into your salad and mix all together.

Serve this with anything….It truly is an awesome salad!!!